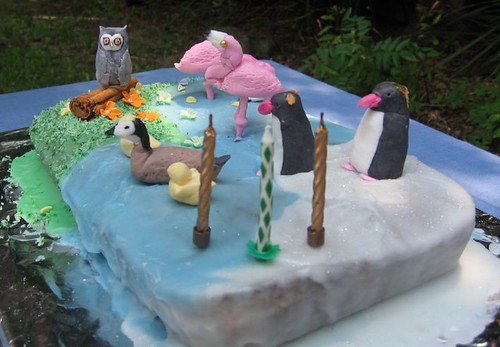
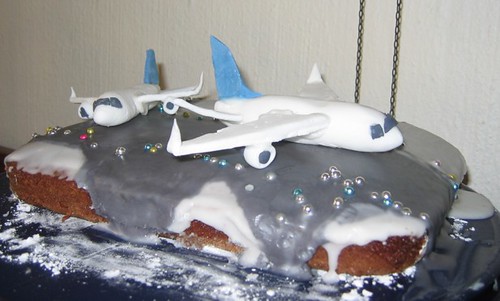
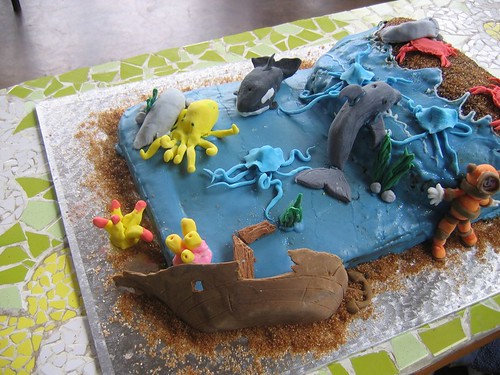
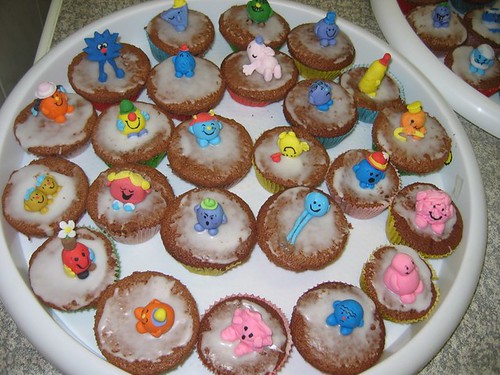
So I searched flickr for pictures of "cats curled up", and looked through a couple of thousand pics. I also took lots of pics of our own cats lying in the right pose, like this one,

and I watched these videos on sculpting a cat. I made a little rough cat out of playdough, and I found a porcelein cat in almost the right pose in my daughter's toy box.
Then I started on the baking. Since the curled up cat is a fairly round shape, I baked the cake in a 2l pyrex bowl - both the idea for baking in a bowl and the recipe for the cake from Debbie Brown's wonderful book "enchanting magical cakes". I used the recipe for chocolate madeira cake, as that carves well, but I doubled the cocoa, since I've used this recipe before and found it not *quite* chocolate-y enough.
Sorry - no pics of the plain cake :(. Then I looked at the basic shape of the cat. I decide that it was fairly flat on top, with a slope in two directions, falling off from the hind end of the cat towards the nose, as well as from the back (spine) towards the front (the feet and face side). So I took a large flat knife and carved that. Then I shaved a bit of each side of the cake to get a more oval shape. Finally, with a small knife, I marked in what I figured what the basic shape on the top of the cake, and starting paring away. I don't have any pictures of these parts because I was absolutely terrified of stuffing it up, and the only way I could get myself to do it at all was to pretend this was just a practise cake, and that I would probably have to do it all again the next day. Here you can see the results of the initial carving, as well as the playdough and porcelein cats I was using as guides.

Here is a side picture of the carved cake to try to show what I mean by the double sloped shape. You can picture the cat's bottom as the top of a gentle hill, where we are only carving the front quarter of the hill coming down from it.

Another view of the initial carved cake:

I think it looks quite lizard-like at this point :). I wasn't aiming for facial features, or shoulder or thigh bulges and I was planning to put those in later using fondant. BUT, I am working in high heat and humidity, and I have had to make my modelling paste using extra tylose in order to avoid it collapsing completely, so I felt that it was too stiff to use for the modelling parts. Instead, I used an idea from this excellent description of the making of a prize-winning cake, and mixed up some cake "clay", using the crumbled offcuts and some chocolate buttercream. No recipe, I just kind of mixed them together until it felt like something I could work with. I used the cake-clay to add shoulders, the thigh-bulge 'behind' the cake, some extra bulk to the leg at the front as well as the facial features.
Here we have thighs...

shoulders .....

face ......

and the finished kitty, waiting for fondant.

The silver cake board is 203mm in diameter.
Next for the fondant. I couldn't find a shop with any in stock, so I made my own, using a recipe out of "Cakes to inspire and desire", because this book featured the following inspiring words about sugarpaste - "it is also easy and inexpensive to make your own" :). She was right.
I didn't think that the cake clay ears of the cat would stand up to being covered with fondant, so I replaced them with fondant ears before beginning. I also made a fondant tail. Here you can see the cat in the process of being covered. I love the difference this makes to it. It suddenly starts looking like something good.

You can see that I've now cut the cake board underneath to match the shape of the cat. I stuffed up though, and cut it before putting on the tail, which made handling it later a little tricky.
Then I used gel colours thinned with water to paint the body. I tried to use a fairly course paintbrush so that the brushstrokes would look "furry". I used "warm brown" and "chocolate brown" cakeflora gel colours.
Here you can see the birthday girl helping to paint her cake.

I made a little fondant nose, and pushed in the nostril with one of my fondant tools - but the back of a paintbrush would probably work too. The ears I brushed with pink petal powder, and I sort of touched up the body with brown dusting powder too. Here is the finished kitty:

And a couple more views just to see the shapes:
Back view:

Top view:

Face close-up:

I really really wanted to try a cushion cake, but I ran out of time. So I just stuck two chocolate sponge cakes together and shaped them slightly, then covered them with pink fondant. The cat was slightly too big for the top of the "cushion", and it looked a bit wierd with its bum stuck into mid-air, so I decided it would be sitting in a tangle of wool, and used the rest of the fondant to make the long strings that boosted up the sides of the bottom cake. Her name was spelled out in unravelling balls of wool at the front of the cake too.
Ta-daaa!

One happy birthday girl :).